
A soft and creamy no-bake tiramisu cake made with ladyfingers, whipped cream cheese, and juicy cherries. This quick and easy dessert takes only 10 minutes to assemble, needs no oven, and tastes light, delicate, and comforting — perfect for beginners and cozy homemade evenings.
Navigation
- The Story Behind My Cherry No-Bake Tiramisu
- The Story of the Classic Tiramisu
- Ingredients
- What You Can Substitute
- Changing the Portions
- About the Dish and the Dishware
- Step-by-Step Instructions
- Jump to recipe
The Story Behind My Cherry No-Bake Tiramisu
I did not plan a tiramisu that day. However, I wanted something sweet and fast. The oven felt like too much work. So I opened the fridge and looked around.
I saw cream cheese first. Then I noticed a small carton of cream. A pack of ladyfingers was sitting in the cupboard. Frozen cherries were also waiting in the freezer. At that moment, the idea appeared.
Classic tiramisu uses coffee and mascarpone. Yet I wanted a lighter and simpler dessert. I chose cherries because they taste fresh and bright. Their gentle sourness balances the sweet cream. As a result, the cake feels soft and not heavy.
The cookies were used dry, not soaked. This step keeps their shape at first. Later, they slowly soften inside the cream. The layers become tender after resting. By morning, the texture is almost mousse-like.
In many homes, similar icebox cakes were made for decades. Busy families needed quick desserts. Therefore, cakes were assembled instead of baked. They were chilled overnight and served the next day. The tradition was kept because it worked so well.
Now I make this recipe when I want comfort without effort. Friends always ask how long it took. They are surprised when I say “only minutes.” Every time, empty plates are left behind.
The Story of the Classic Tiramisu
Italy gave the world tiramisu, one of the most loved desserts today. Most people connect it with coffee, mascarpone cream, and soft ladyfingers. The name itself means “pick me up.” Cooks chose this name because coffeeffea and sugar gave energy and comfort.
Many stories point to the Veneto region, especially the city of Treviso. In the 1960s and 1970s, local restaurants began serving the dessert to guests. Chefs layered coffee-soaked savoiardi with a rich mascarpone cream. They dusted cocoa powder on top and served it chilled.
The idea was simple and smart. Bakers wanted a cake without baking. They needed something quick but elegant. So they assembled layers instead of using an oven. The cream held everything together, while the biscuits slowly softened inside.
Families soon started making tiramisu at home. Mothers prepared it for Sundays and holidays. Guests loved the light texture and deep coffee flavor. Because the dessert rested in the fridge, the taste became smoother after a few hours.
Over time, new versions appeared. People added berries, chocolate, or liqueurs. Some recipes were changed to be lighter. Still, the base idea stayed the same: soft biscuits, airy cream, and gentle sweetness. Today tiramisu lives in cafés and kitchens all over the world, yet it still feels like a warm Italian welcome at the table.
Ingredients for Tiramisu
- 6 ladyfingers (savoiardi biscuits)
- 60 g cream cheese
- 100 ml heavy whipping cream
- 2–3 tbsp sugar (to taste)
- 100 g frozen cherries (pitted)
- Chocolate for grating on top (about 10–15 g)
What You Can Substitute (and What It Changes)
If you do not have ladyfingers, you can use sponge cake slices, soft biscuits, or simple tea biscuits like Maria. In this case, the dessert becomes more cake-like and a bit denser. At the same time, it still stays soft after chilling, because the cream slowly moistens the layers.
Instead of cream cheese, you may choose mascarpone, and then the taste becomes richer and closer to classic tiramisu. However, you can also use thick Greek yogurt, so the cream feels lighter and slightly tangy. Ricotta works as well, although the texture turns more delicate and less creamy.
Heavy cream can be replaced with lighter whipping cream, and therefore the filling becomes softer and less heavy. Coconut cream is another option, especially if you want a gentle coconut aroma.
Sugar is flexible too. For example, honey gives a warmer flavor, while powdered sugar dissolves faster and makes the cream smoother. Condensed milk can also be added, and then the dessert turns sweeter and more indulgent.
Cherries may be swapped for strawberries, raspberries, blueberries, or even canned peaches. Berries add freshness and a pleasant sour note, whereas peaches create a softer and sweeter taste.
For the topping, you may grate chocolate, or instead dust cocoa powder, or even sprinkle crushed cookies or chopped nuts. Each option changes the aroma and adds a small texture contrast.
Changing the Portions
If you want a bigger dessert, simply double or even triple all the ingredients. The method stays exactly the same, and only the number of layers increases. Because of that, this recipe is very convenient for guests or family dinners.
About the Dish and the Dishware
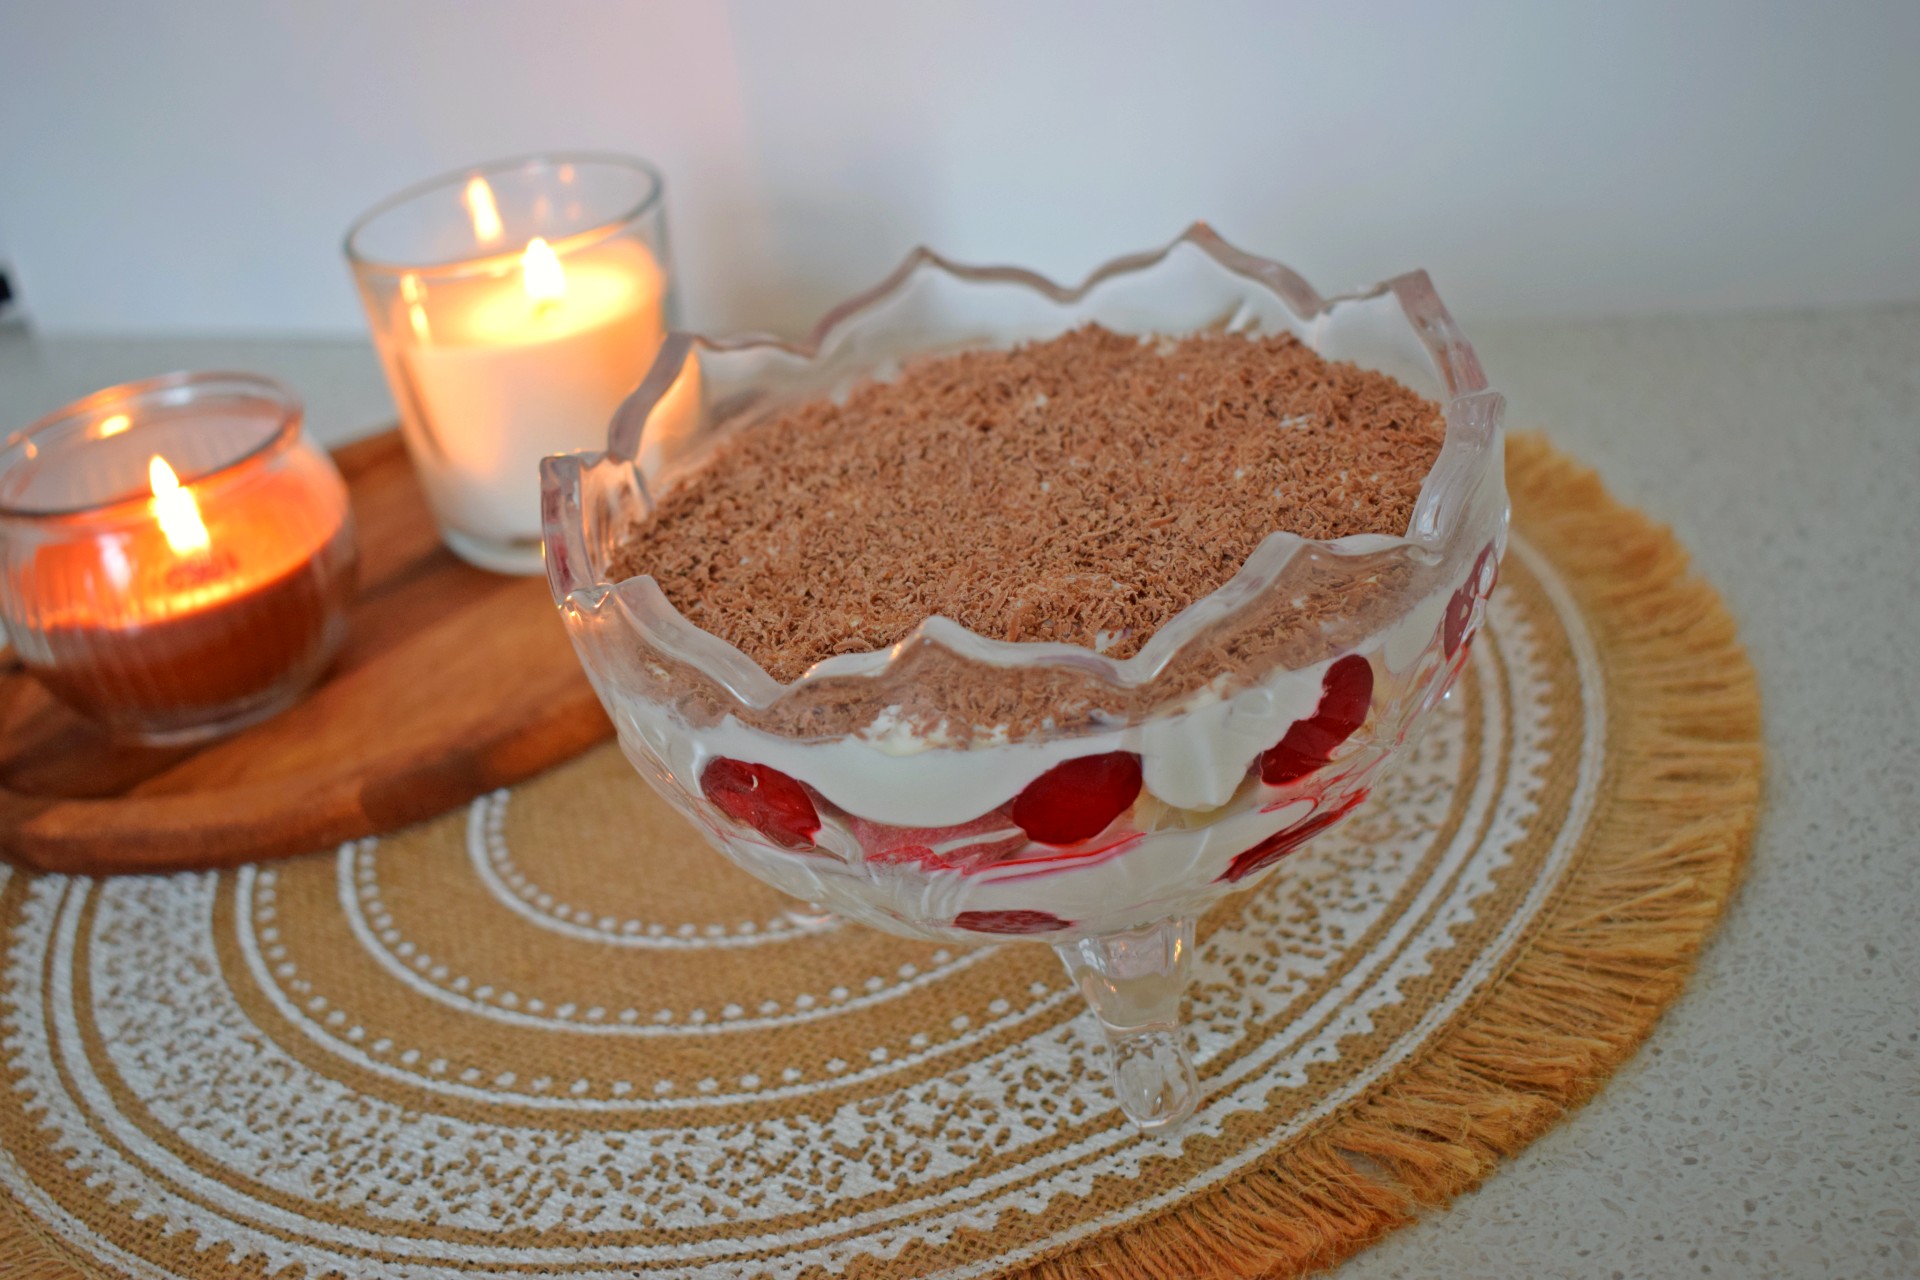
You can assemble the cake in almost any container. For instance, a bowl, a glass baking dish, a plastic food container, or even individual cups will work perfectly. Nothing special is required, and therefore the recipe feels very relaxed.
I personally used what I already had at home. The deep glass bowl matched my mood that day, and it made the dessert feel cozy and spontaneous. In fact, this cake is about comfort cooking, so you do not need perfect tools — you only need a calm evening and a small sweet craving.
Step-by-Step Instructions

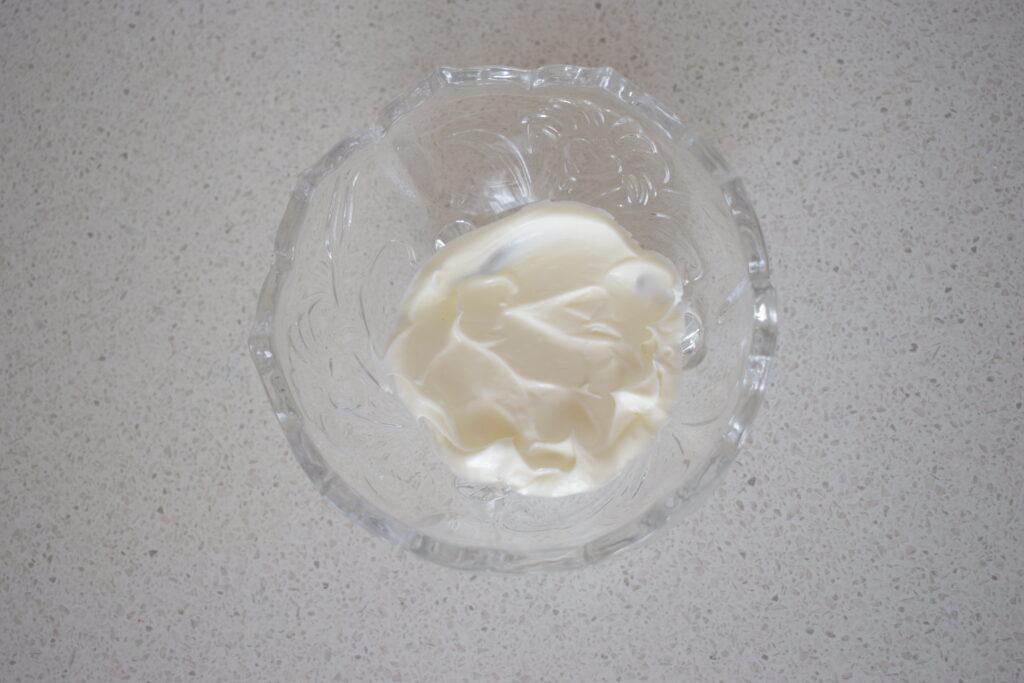
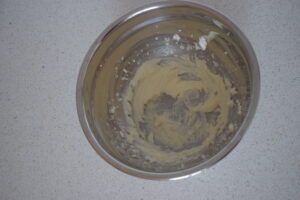
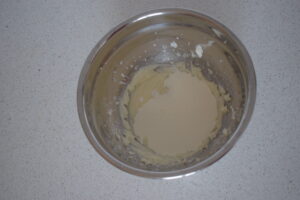
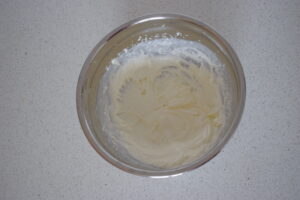
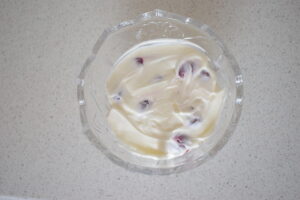
First, take a medium bowl and add the cream cheese and sugar. Beat them together until the mixture looks smooth. Then pour in the cold cream and whip again. Continue mixing until you get a soft, airy cream that holds gentle peaks.
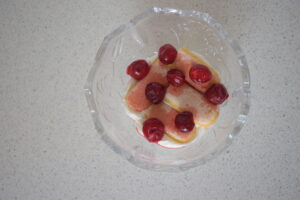
Next, choose your dish. A deep bowl, glass container, or even cups will work. Spread a thin layer of cream on the bottom. This helps the cookies stay in place.
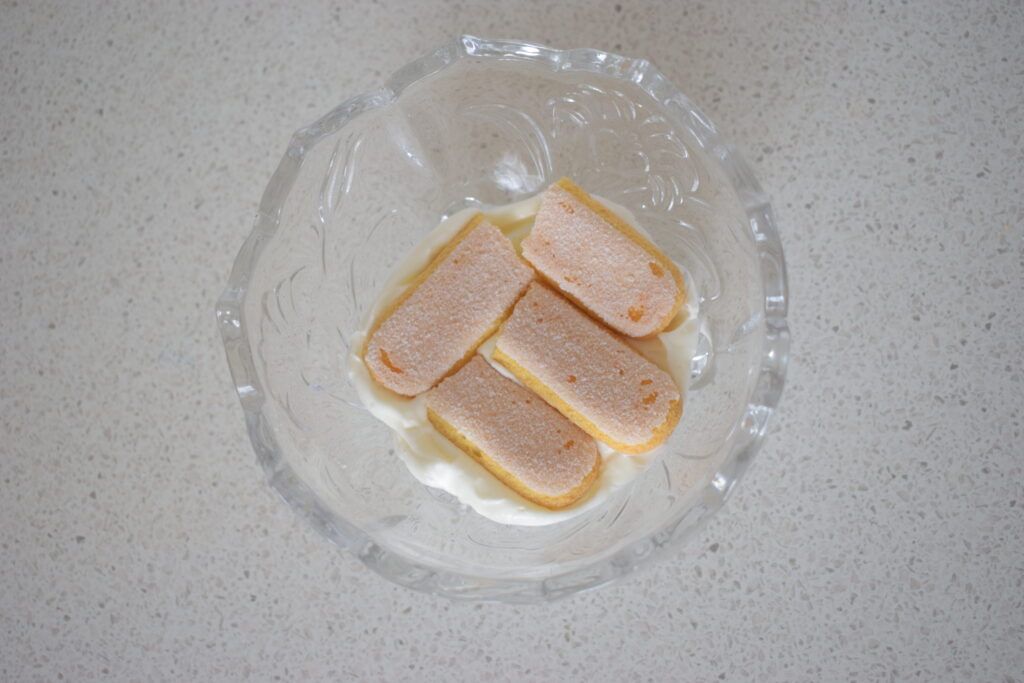
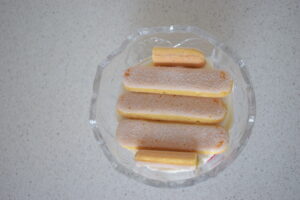
Now place 2 ladyfingers over the cream. Do not soak them. Leave them dry. They will soften later in the fridge.
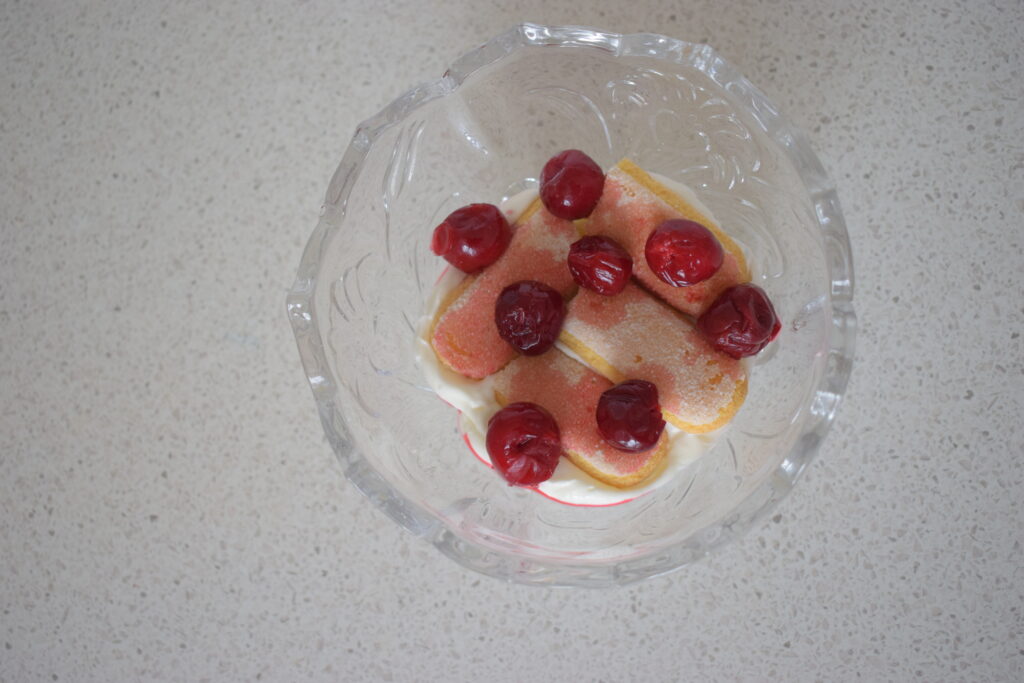
After that, add a layer of cherries. Spread them evenly so every bite has fruit. Spoon some cream on top and gently cover the cherries.
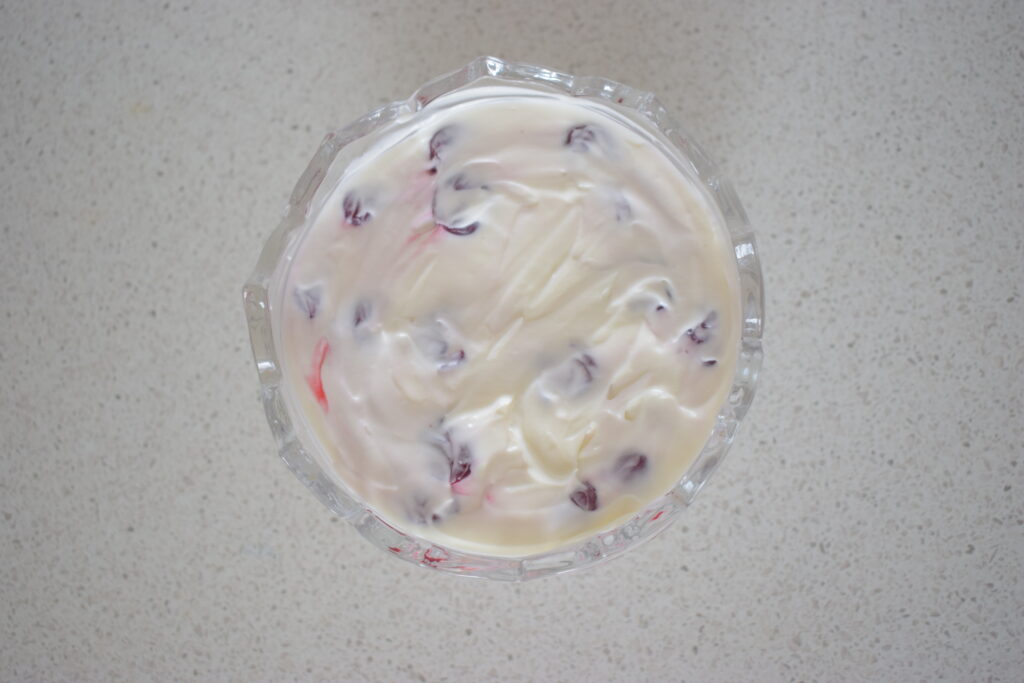
Then repeat the layers. Add cookies again, then cherries, and then cream. Smooth the surface with a spoon so the cake looks neat.

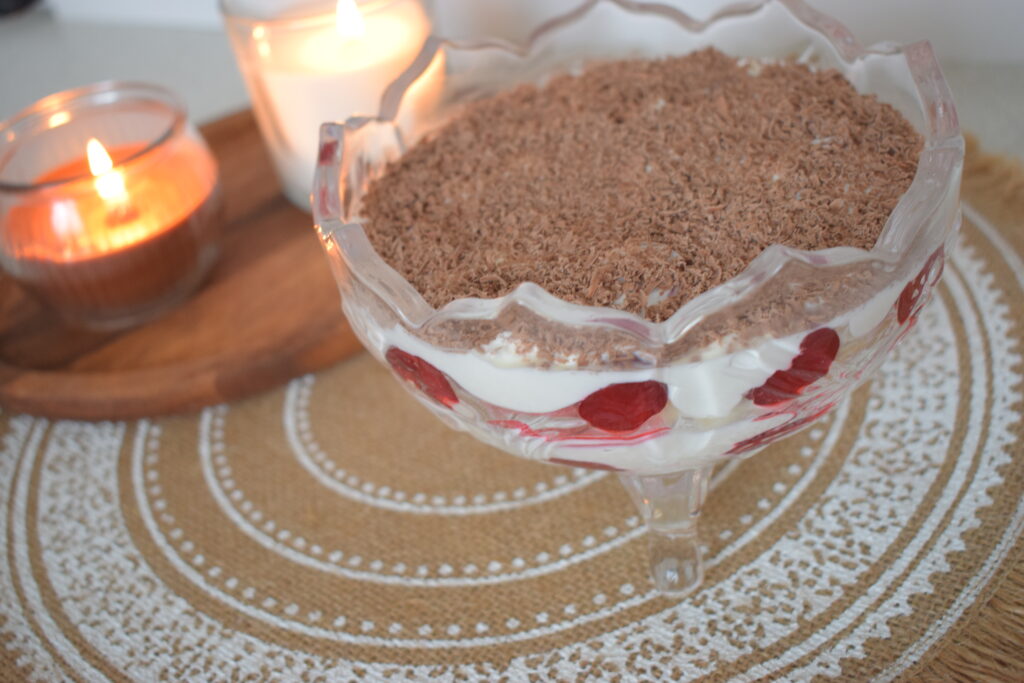
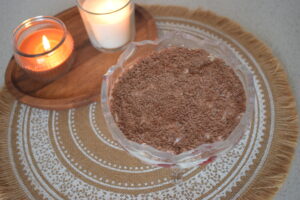
When you finish the last cream layer, grate chocolate directly over the top. Try to cover the surface lightly, not too thick.
Finally, cover the dish and put it in the refrigerator. Let the cake rest at least 4 hours, but overnight is better. During this time the cookies absorb moisture and turn soft.

Before serving, take the dessert out of the fridge and let it stand for 5–10 minutes. Then cut or scoop and serve. The layers will be tender, creamy, and easy to eat.
Watch Other Siple Recipes Ideas
This Simple Cucumber Sandwich Became My Favorite Breakfast
Cream Cheese Bacon Sandwiches with Fresh Tomatoes in 10 minutes!
Easy Cottage Cheese Pancakes (Traditional Moldavian “Brânzoaice”)
No-Bake Cherry Tiramisu Dessert — Easy 10-Minute Creamy Ladyfinger Cake
Ingredients
Method
- In a mixing bowl, combine the cream cheese and sugar.
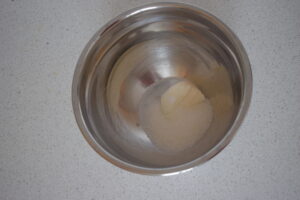
- Beat until smooth.
- Pour in the cold heavy cream.
- Whip the mixture until a thick and fluffy cream forms. Do not overwhip.
- Spread a thin layer of cream on the bottom of a deep round glass dish.

- Place 2 dry ladyfinger biscuits over the cream layer.

- Add a layer of frozen cherries, spreading them evenly.
- Cover the cherries with a layer of cream.
- Add another layer of ladyfingers.
- Repeat with cherries and cream. Finish with a final cream layer.

- Grate dark chocolate over the top.
- Refrigerate for at least 2 hours before serving so the biscuits soften.
Leave a Reply